Potter_Obsessed


It All Ends

About Me

- Crystal Belle
- Greer, South Carolina, United States
- I have been psping since 2004, I just started making scrap kits in 2010. In my spare time I love to read, Harry Potter and Twilight Saga are my favorite books, I also read anything true crime.Im a huge Harry Potter fan! I finished up my associates degree in Criminal Justice, September 2010. Im extremely proud of my self! Thank you for stopping by my blog :)
Monday, April 18, 2011
 Glamorous
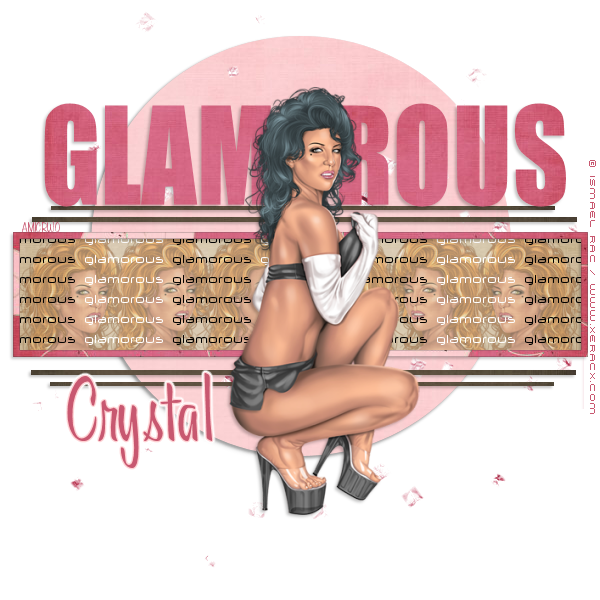 2 Tubes of Choice ~
Iam using the wonderful artwork of Ismael Rac.
Which you must obtain a license to use at XeracX Store
Scrap Kit by Bluedream Designs called Sweet Nothings
Ok Lets get started
Open up the Template delete the credit layer,
We are also going to delete layers WA1 and WA2.
Make your circle layer active.
Go to Selections/Select All/Float/Defloat Copy and paste the Sweet Nothings- Paper 6
Go to Selections/ Invert and hit Delete Selections/ Select None
Add a drop shadow~ 2 -2 24 4
Add the same drop shadow again
Make the Bar layer active.
Go to Selections/Select All/Float/Defloat
Copy and paste the Sweet Nothings- Paper 5
Go to Selections/ Invert and hit Delete Selections/ Select None
Add the same drop shadow as before.
Make the Frame1 Back layer active.
Go to Selections/Select All/Float/Defloat
Copy and paste the Sweet Nothings- Paper 4
Go to Selections/ Invert and hit Delete Selections/ Select None
Add the same drop shadow as before. Make the Frame 1 layer active. Go to Selections/Select All/Float/Defloat
Copy and paste the Sweet Nothings- Paper 10 Go to Selections/ Invert and hit Delete Selections/ Select None Add the same drop shadow as before.
Make the WA3 layer active.
Go to Selections/Select All/Float/Defloat
Copy and paste the Sweet Nothings- Paper 3 Go to Selections/ Invert and hit Delete Selections/ Select None
Now delete out the layer names WA3 Add the same drop shadow as before.
Now on both Glitter layers we are going to colorize them Hue-246/ Saturation- 129
Now lets go ahead and close off the WA4 layer Go back and make the Frame1Back layer active Selections/Select All/Float/Defloat
Copy and paste one of your tubes so only her head is showing in the frame
You may have to resize to make it fit. Go to Selections/ Invert and hit Delete Selections/ Select None Duplicate your head layer so you have a total of 3 Move each head over so that are next to each other.
Close out all layers except the 3 heads and merge them and duplicate them Go to image and mirror it.
Merge those two layers togeather. Drop the Opacity down to 50.
Unhide all layers Copy and paste your main tube place it where think it looks best. I placed mine in the middle of the Template.
Resize if needed and add the same drop shadow as before.
Lets go ahead and add your name Stroke ~Null Fill~ #C85870 Font of choice I used AL Meaningful Size 72
Using Eyecandy 4000 we are going to apply a Gradient Glow On the Basis put in these number ~ 3/24/100 for the Color we are going to click on Fat~ use White and the color # FED0D2.
Go ahead and add the copyright and Lic number. Delete out the white background if you have one and save as PNG. Thank you for trying my tutorial.
This tutorial was created on September 5th 2009 by CrystalBelle of Belle of the Ball Tutorials any resemblance to another Tag or Tutorial is purely coincidental.
Subscribe to:
Post Comments (Atom)
Grab My Blinkie

Proud Member Of

People I Stalk


0 comments:
Post a Comment